Start from your road fit, then adjust shoes and saddle, raise the front a little, choose bar width and flare, and set tyre pressure for the ground you ride.
A good gravel bike fit starts from your road fit, not from a blank sheet. Keep the saddle height and setback that work for you on the road, corrected for any change of pedals and shoes. Then raise the front end a little and bring the hoods a little closer, because off road you ride longer, look further ahead and steer more. Bar width, flare, tyres and pressure finish the job. Change one thing at a time and test it on the surfaces you ride.
How is a gravel bike fit different from a road fit?
A gravel bike fit raises the front end a little and brings the hoods a little closer than on your road bike, because rides are longer, the ground is rougher and you steer more. Saddle height and setback stay as on the road, corrected for any change of pedals and shoes, because your legs do the same job.
Rides are longer: Unbound Gravel's 200 race in Kansas covers 200 miles of Flint Hills gravel, and plenty of gravel events and rides take most of a day. Comfort in the sixth hour matters more than drag in the first.
The ground is rougher. Vibration reaches your hands and the saddle on every metre, you stand up more often to let the bike move under you, and you steer constantly around ruts and stones. On descents you want your hands in the drops, where the brakes and steering are most secure, so the drops have to be a position you can use, not one you avoid.
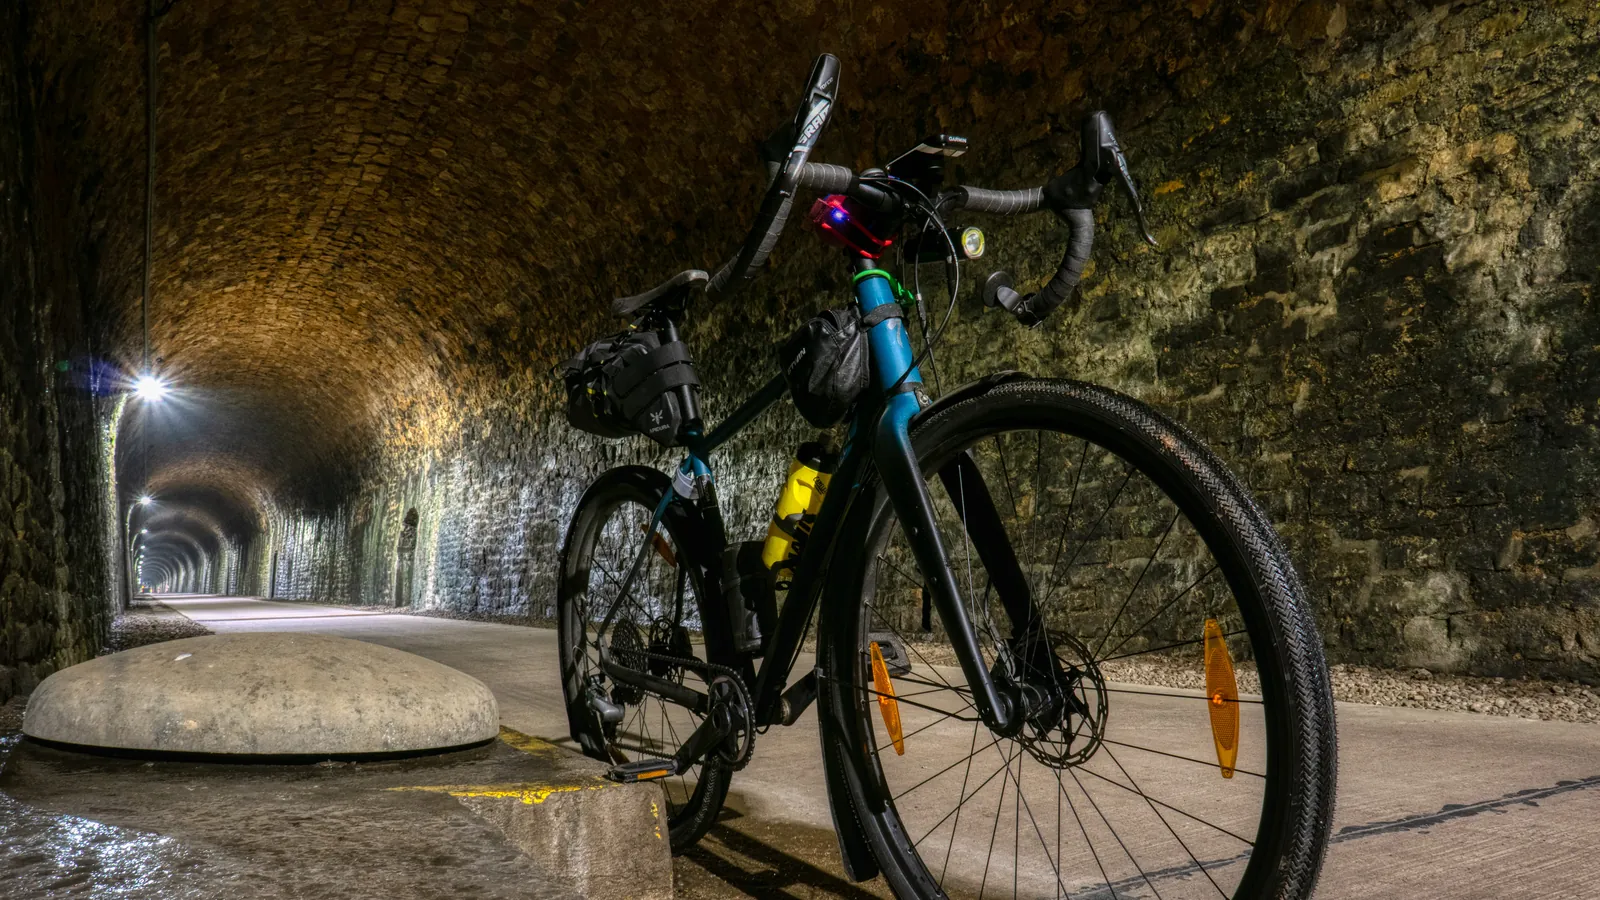
Gravel frames are built for this. Compared with a road race frame of the same size, many have more stack and a longer wheelbase, and they take much wider tyres. That makes the fitter's job easier, but it does not do it for you. A taller frame with a long stem and a narrow road bar can still put you in a stretched, nervous position.
| Part of the fit | Road bike | Gravel bike, as a first step to test |
|---|---|---|
| Saddle height | Your fitted number | The same, corrected for pedal and shoe stack |
| Saddle setback | Your fitted number | The same |
| Saddle-to-bar drop | Your fitted number | 10 to 30 mm less |
| Saddle-to-hood reach | Your fitted number | 10 to 20 mm shorter |
| Handlebar | Road bar | Same width at the hoods, with some flare at the drops |
| Tyres and pressure | Narrow, higher pressure | Wider, lower pressure, set for the surface |
Should saddle height be the same on a gravel and a road bike?
Your gravel saddle height and setback should match your road bike, corrected for any change of pedals and shoes. Many gravel riders move to two-bolt mountain-bike pedals, and that changes the distance from the pedal axle to your foot.
Measure the road bike first: saddle height from the centre of the bottom bracket to the top of the saddle, and setback from a vertical line through the bottom bracket to the saddle nose. Our guide to moving your bike fit to a new bike explains how to measure both the same way every time. Your saddle height took effort to find, so carry it over rather than starting again.
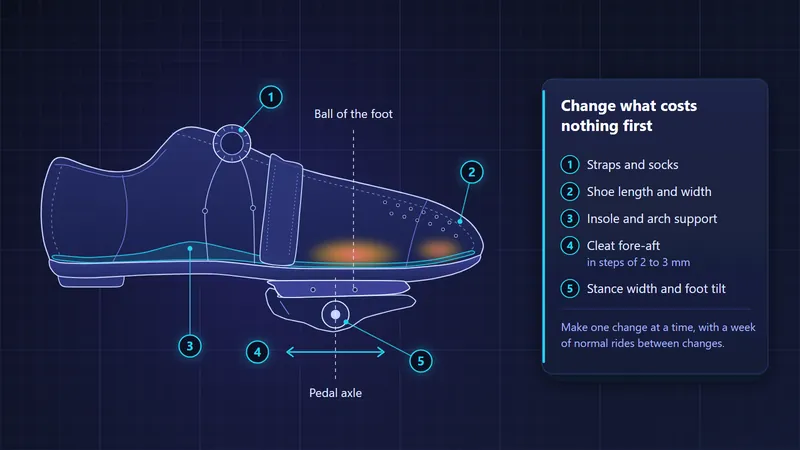
The common catch is footwear. Two-bolt mountain-bike pedals and shoes are easier to walk in and shed mud, which is why many gravel riders switch to them from three-bolt road pedals. Measure the distance from the pedal axle to your foot on both set-ups, from the centre of the pedal axle to the top of the insole with the shoe clipped in, and change the saddle height by the difference. Some riders feel a change of a few millimetres at the knee.
Check the cleats again too. Two-bolt cleats sit in a slot that may not reach as far back as your road cleat, and the float and release feel different. Line the cleat up with the ball of the foot as carefully as on the road shoe: our cleat position checklist covers the steps.
A saddle that works on your road bike will usually work on gravel, because the contact is the same. Phil Burt, former lead physio at British Cycling, advises getting the saddle position right before buying new saddles, and notes that a rider who keeps shifting backwards may need a wider one. If you fit a dropper post, set its top position to your measured height and check the saddle's tilt and setback, because the dropper's head may hold the saddle differently from the old post.
How high should the handlebars be on a gravel bike?
On a gravel bike, start with the bars 10 to 30 mm higher relative to the saddle than on your road bike, and the hoods 10 to 20 mm closer. That is a first step to test. Some racers on fast gravel stay close to their road position, but most riders on long days do not.
On gravel, the case for a slightly higher, shorter front end is stronger than on the road. You look further down the trail, you carry more weight on your legs when the ground gets rough, and you can stay in the drops for longer descents.
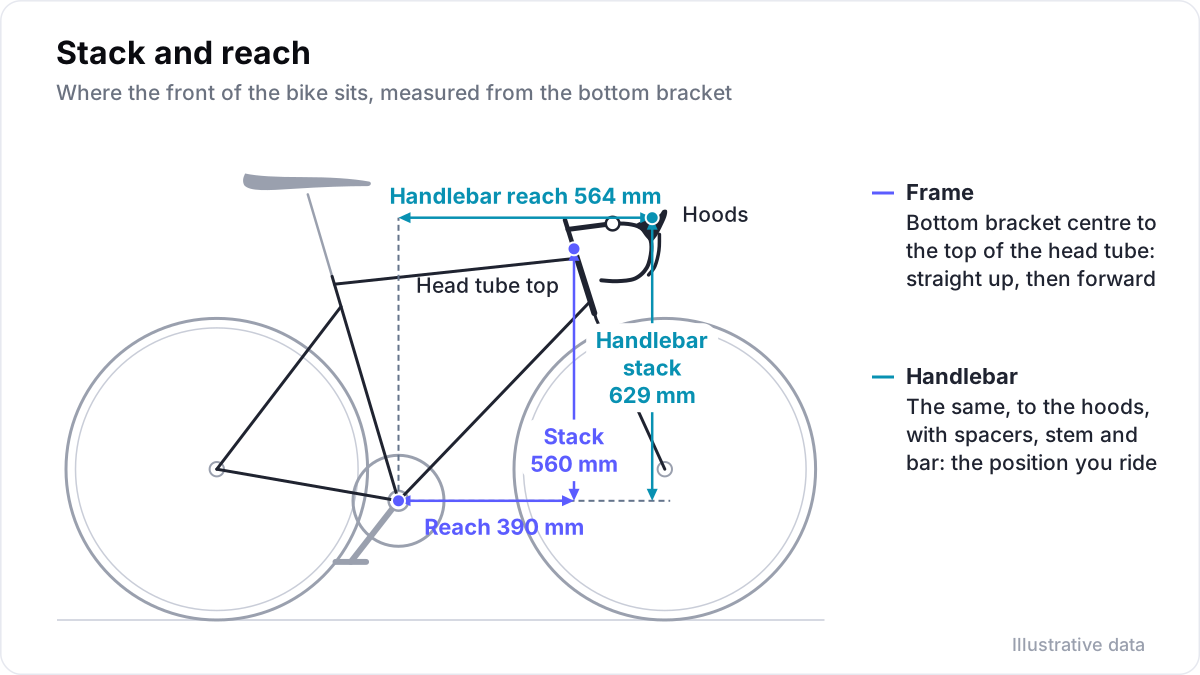
The way to plan it is with coordinates. Frame stack and reach place the top of the head tube; stem, spacers and bar then place your hands.
Here is an illustrative example. A road bike puts the hoods at 75 mm below the saddle and 520 mm from the saddle nose. The rider wants 50 mm of drop and 505 mm of reach on gravel. The gravel frame in the same size has 20 mm more stack and 8 mm less reach than the road frame. With the same stem and spacers, the hoods already sit 20 mm higher and about 8 mm closer. A gravel bar with a shorter reach, or a stem 5 to 10 mm shorter, finishes the change. Five more millimetres of spacers would bring the drop to the target.
Two details catch people out. Spacers move the bar back slightly as well as up, because the steerer leans back at the head tube angle. And flared bars angle the hoods outwards, so roll the bar and set the hoods until your wrists sit straight, not where they would sit on a road bar.
How wide should gravel handlebars be?
Keep the hood width that suits your shoulders on your road bike, and let the bar's flare make the drops wider. Flare is the outward angle of the drops seen from the front.
Cycling Weekly's tests of gravel bars show the range. Some are only 5 or 6 degrees more flared than a road bar, and several of the tested gravel bars sit between 11 and 16 degrees. Salsa's Cowchipper has 24 degrees and Ritchey's WCS Beacon 36. Its testers found that flares up to around 15 degrees barely change the position on the hoods, while larger flares start to change it.
Flare matters because it decides how wide the drops are compared with the hoods. Over a drop of 115 mm, a 12 degree flare moves each drop end about 24 mm outwards and a 24 degree flare about 51 mm. A bar that measures 42 cm at the hoods can therefore be close to 10 cm wider at the ends of the drops. That width gives leverage and stability on rough descents, and space for a handlebar bag between the drops.
Going wider everywhere adds leverage but also frontal area, and on a long day it can load the shoulders and the neck.
What tyre pressure should you run on a gravel bike?
Start from a tyre pressure calculator, then adjust it for the ground you ride. Lower pressure lets the tyre absorb small bumps before they reach your hands and saddle, and gives grip on loose ground. If it is too low, the tyre squirms in corners or the rim strikes stones.
On a road bike, tyres are equipment. On a gravel bike, they are part of how the bike fits you, because the tyre is the first suspension your body has. Gravel bikes typically run anything from 35 mm to 50 mm tyres or more, on 700c or 650b wheels.
SILCA's pressure calculator, for example, asks for the total weight of rider, bike and luggage, the surface (with four categories of gravel), the measured tyre width, wheel size, casing, speed and the weight split between the wheels. Its page also warns not to exceed 72 psi, about 5 bar, on hookless or straight-sided tubeless rims, and to follow the rim and tyre makers' limits.
Write the pressures down with the fit: front and rear, the measured tyre width and the surface. A fit checked at 2.4 bar on 45 mm tyres feels different from the same position at 3.5 bar, and the numbers explain why a position that felt fine last month now feels wrong.
Should a change to your road fit go on your gravel bike too?
A change to your road fit probably belongs on your gravel bike too, such as a new saddle height after a cleat change. Treat the two bikes as one rider with two set-ups. When the gravel bike reveals something, such as numb hands after three hours, it may say something about the road position too.
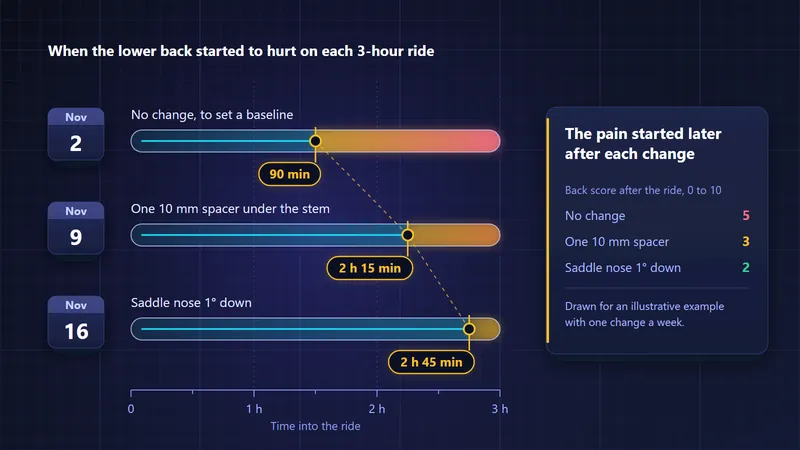
After the first long gravel ride on a new set-up, check these points and change one at a time:
- Hands. Numbness or pressure in the palms often means too much weight forward or too little support from the hood angle.
- Neck and shoulders. Aching after two hours often means the front is too low or too far for the length of the ride.
- Saddle. New discomfort often traces back to a saddle height or tilt change, or to the new shoes.
- Knees. Discomfort at the front or side of the knee after a pedal change is a reason to check saddle height and cleats first.
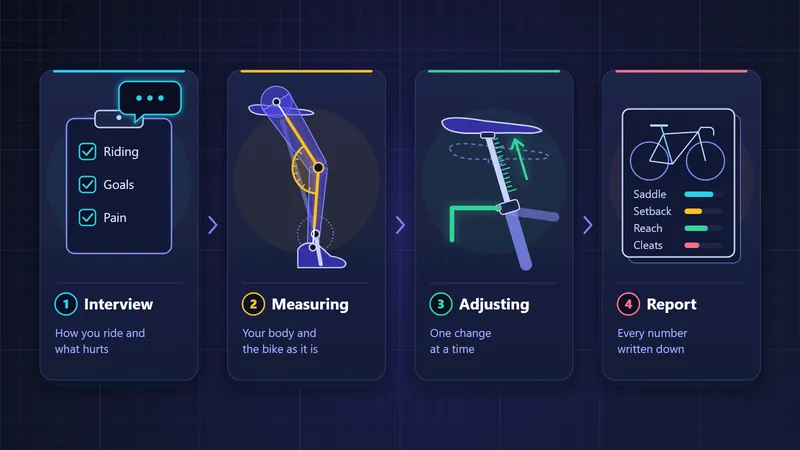
Pain that does not settle after a few rides belongs with the fitter, and with a doctor or physiotherapist if it persists. Keep each change with its reason and date: our article on bike fit history explains why. In Velograph every bike has its own fit record, so road and gravel fits sit side by side and the next fitter sees both.
Further reading
- Best handlebars for gravel bikes 2023: flared bars for off-road riding, Cycling Weekly, 2024.
- Pro Tire Pressure Calculator, SILCA, 2026.
- Best gravel bikes 2026: extensively ridden and rated, Cycling Weekly, 2026.
- 11 bike fit trends you need to know about, according to British Cycling's former physio guru, Cycling Weekly, 2023.
Velograph is not affiliated with, sponsored by or endorsed by any team, rider or company named in this article. Names are used only to refer to publicly reported work.