What to measure on the old bike, the tools you need, how to set the same contact points on the new frame, and when a fresh bike fit is the wiser choice.
To move your bike fit to a new bike, measure where the old bike puts your contact points relative to the bottom bracket. Then set the new bike to the same points: saddle height and setback, handlebar and hood position, crank length and cleats. Copy positions, not parts. The new frame may need a different stem, seatpost or saddle rail position to put you in the same place. Then ride, check and adjust in small steps.
How do you measure your bike fit before changing bikes?
Stand the old bike upright on a level floor, measure everything three times from named reference points and write down the average. Do it before you sell the bike, strip it or let the shop take it in part exchange.
Have these tools ready:
- A steel tape measure and a steel ruler.
- A long spirit level or a laser line, and a plumb bob on a string.
- A digital inclinometer, or a phone app checked against a level, for saddle tilt and hood angle.
- Masking tape and a fine marker for reference points.
- Hex keys and a torque wrench for the new bike.
- A phone camera for side-on photos with a tape measure in the shot.
Keep the two wheel axles at the same height. The 2024 expert consensus on bike set-up measurements asks for each measurement to be taken three times and averaged, and for every reference point to be named. "Saddle height 742 mm" is half a record. "Saddle height 742 mm to a measuring point 135 mm behind the nose" can be copied by anyone.
What should you measure to transfer a bike fit?
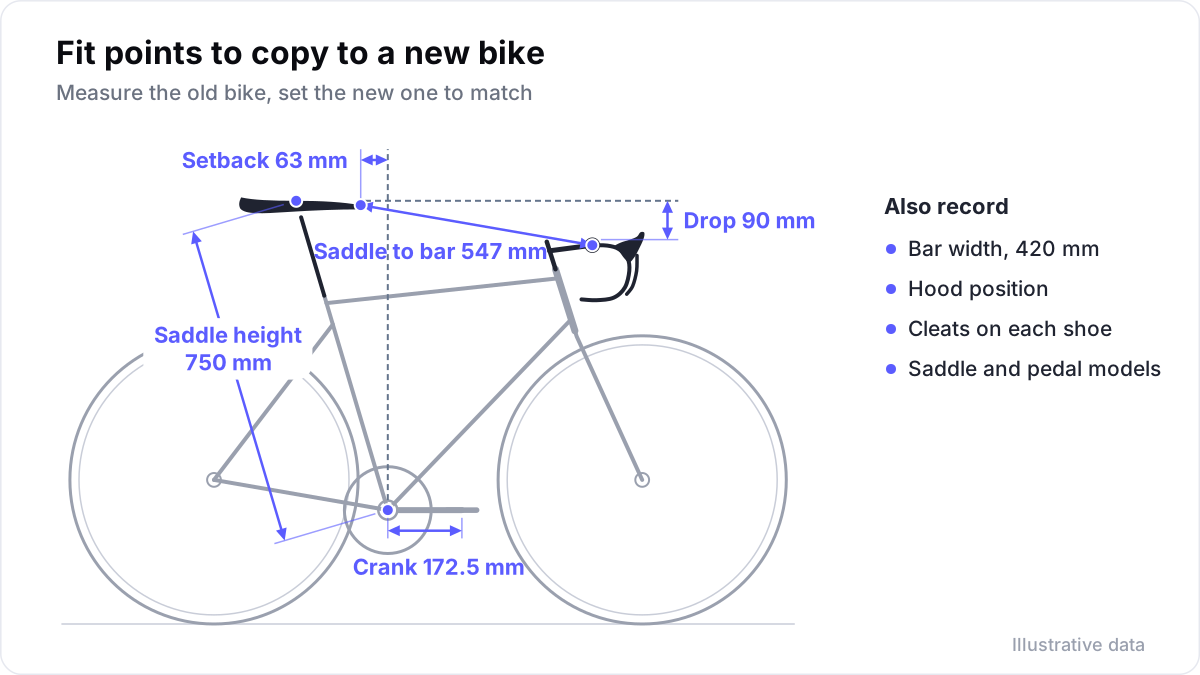
Measure saddle height, setback and tilt, saddle-to-bar reach and drop, hood position, bar width, crank length and cleats. Every measurement starts at the centre of the bottom bracket or at a marked point on the saddle, never at the floor.
| Measurement | From and to | Note |
|---|---|---|
| Saddle height | Centre of the bottom bracket to the top of the saddle where the sit bones rest | Mark the point with tape and note its distance from the nose |
| Saddle setback | Horizontally from the bottom bracket to the saddle nose, with a plumb line | Also measure to the sit-bone point if the saddle will change |
| Saddle tilt | Nose to tail, with a level on a straight edge | Degrees; nose down is negative |
| Saddle to bar | Saddle nose to the centre of the bar at the stem clamp | A straight line |
| Saddle-to-bar drop | Vertically from the saddle top to the top of the bar at the clamp | Positive means the bar is lower |
| Hood position | From the bottom bracket to where the hands rest, horizontally and vertically | Add the hood angle |
| Bar width | Centre to centre at the hoods | Measure it; labels use different methods |
| Crank length | Printed on the inside of the crank | Changes saddle height, see below |
| Stem, spacers, bar model | Length, angle, spacer height, reach and drop of the bar | For reference: these may all change |
| Shoes, pedals and cleats | For each foot | Keep the same shoes if you can |
Why do saddles, hoods and cranks rarely match on a new bike?
Saddles, hoods and cranks rarely match because a new frame often comes with a different saddle, seat tube angle, shifters or crank length. Each of these moves a contact point, so match the points where you sit and rest your hands, not the parts.
A new bike often arrives with a new saddle. Saddles differ in length, in how the tail rises and in padding. A short-nosed saddle ends further back, so the same seating position gives a larger setback figure to the nose. Measure height and setback to the sit-bone point on both saddles. Better still, move your old saddle across for the first rides and change it later as a separate step.
A different seat tube angle puts the seatpost in a different place under the saddle. Take a saddle height of 740 mm on a 73.5 degree seat tube. The saddle point sits 710 mm above the bottom bracket and 210 mm behind it. On a 73.0 degree frame, the seat tube passes 7 mm further back at that height. With the same post, the saddle needs to slide about 7 mm forward on its rails to stay where it was. Rails allow only a limited range. A larger difference means a seatpost with more or less offset, and some aero frames offer only their own posts, so check before you buy.
Hoods differ more than riders expect. Shifters from different groupsets have different shapes, and handlebars differ in how far the hoods sit forward of the clamp and how deep the drops are. One-piece bar and stem cockpits limit the options further. Match the point where your hands rest, then set the hood angle with the inclinometer. Do not rely on the bar clamp alone.
With shorter cranks, raise the saddle by as much as the cranks are shorter, so 2.5 mm when 172.5 mm cranks become 170 mm. That keeps the same reach to the pedal at the bottom. At the top of the stroke the pedal is then 5 mm further from the hip, so the hip angle opens a little too.
How do you set up a new bike to your old fit?
Start with the shoes and cleats, then set the saddle height, setback and tilt. Next come the handlebar, the hoods and the bar width. Finish by tightening the bolts to the maker's torque figures and recording the new bike's numbers.
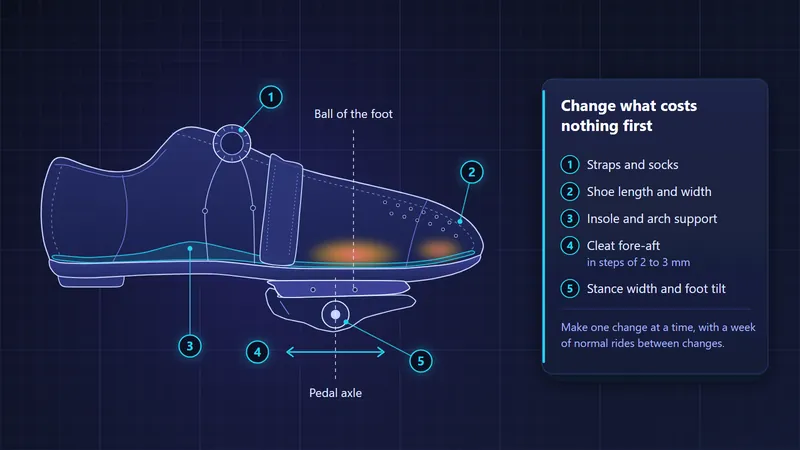
Shoes and cleats. Use the same shoes and pedal system if you can. If either changes, copy the cleats from the foot's landmarks, as the cleat position checklist describes.
Saddle height. Set the recorded height to the sit-bone point, corrected for any change in crank length. Measure three times.
Setback. Drop a plumb line from the saddle nose, or from the sit-bone point if the saddle changed, and slide the saddle until the horizontal distance matches. Sliding the saddle back on its rails lengthens its distance from the bottom bracket by about 3 mm per 10 mm, so recheck the height afterwards.
Saddle tilt. Set it with the level on a straight edge laid along the saddle.
Handlebar. Choose the stem length, stem angle and spacers that put the centre of the bar at the old stack and reach. Our guide to stack and reach explains how far each part moves the bar. Then cross-check saddle-to-bar reach and drop.
Hoods. Slide the shifters to the recorded hood position and set the hood angle and bar roll. Leave the bar tape off until after the first rides.
Bar width. Match it, measured the same way as before.
Bolts. Tighten everything to the maker's torque figures, with carbon assembly paste where it is needed.
Record. Measure the new bike once more and write down its numbers with the date.
How do you check a new bike setup on the road?
Ride short and easy on roads you know first, then go longer a few days later, and adjust a few millimetres at a time. The longer ride tells you more. Then ask yourself these questions.
- Do you sit in the same place on the saddle, or slide forward?
- Do the hips rock at the bottom of the stroke?
- Is there more weight on the hands, or a stretch to the hoods?
- Do the neck and shoulders feel the same after an hour?
- Are there hot spots or numbness in the feet?
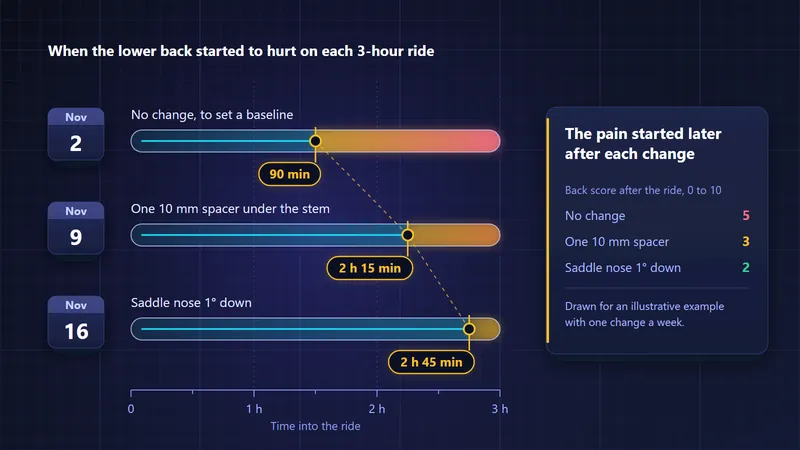
Take side-on photos or a short video on a trainer, at the bottom of the stroke and with the hands on the hoods. Use the same camera height and distance as for the old bike, so the two can be compared. Adjust a few millimetres at a time, one change per ride or per week, and note each one. A new frame, wheels or tyres can also make the same position feel different. Do not chase a handling difference with the saddle. Pain that does not settle belongs with a physiotherapist or doctor, not with a hex key.
When is a new bike fit better than copying the old one?
Book a new fit, instead of or as well as a transfer, when the new bike is a different kind, the old position was not working, or your body, goals or shoes have changed. Copying a position copies its problems too.
- The new bike is a different kind, such as a time trial or gravel bike. Their positions start from different goals, as the guides to time trial bike fit and gravel bike fit explain.
- The old position was not working: pain, numbness, or a saddle you never got on with.
- Matching the old position needs extreme parts: a very short stem, the maximum spacers, or the saddle at the end of its rails.
- Your body has changed since the last fit, through injury, surgery, flexibility or weight, or your goals have changed.
- The last fit was years ago, or the shoes and pedals are new as well.
A fitter will still want the old numbers, so bring them. They show where you started and what has already been tried. The saddle height guide is a good primer on how fitters will check that part.
Keep the numbers with the bike
Once the new bike is right, the numbers for both bikes are worth keeping side by side: the old position, what changed and why. A bike fit history makes the next transfer quicker and far less of a guess.
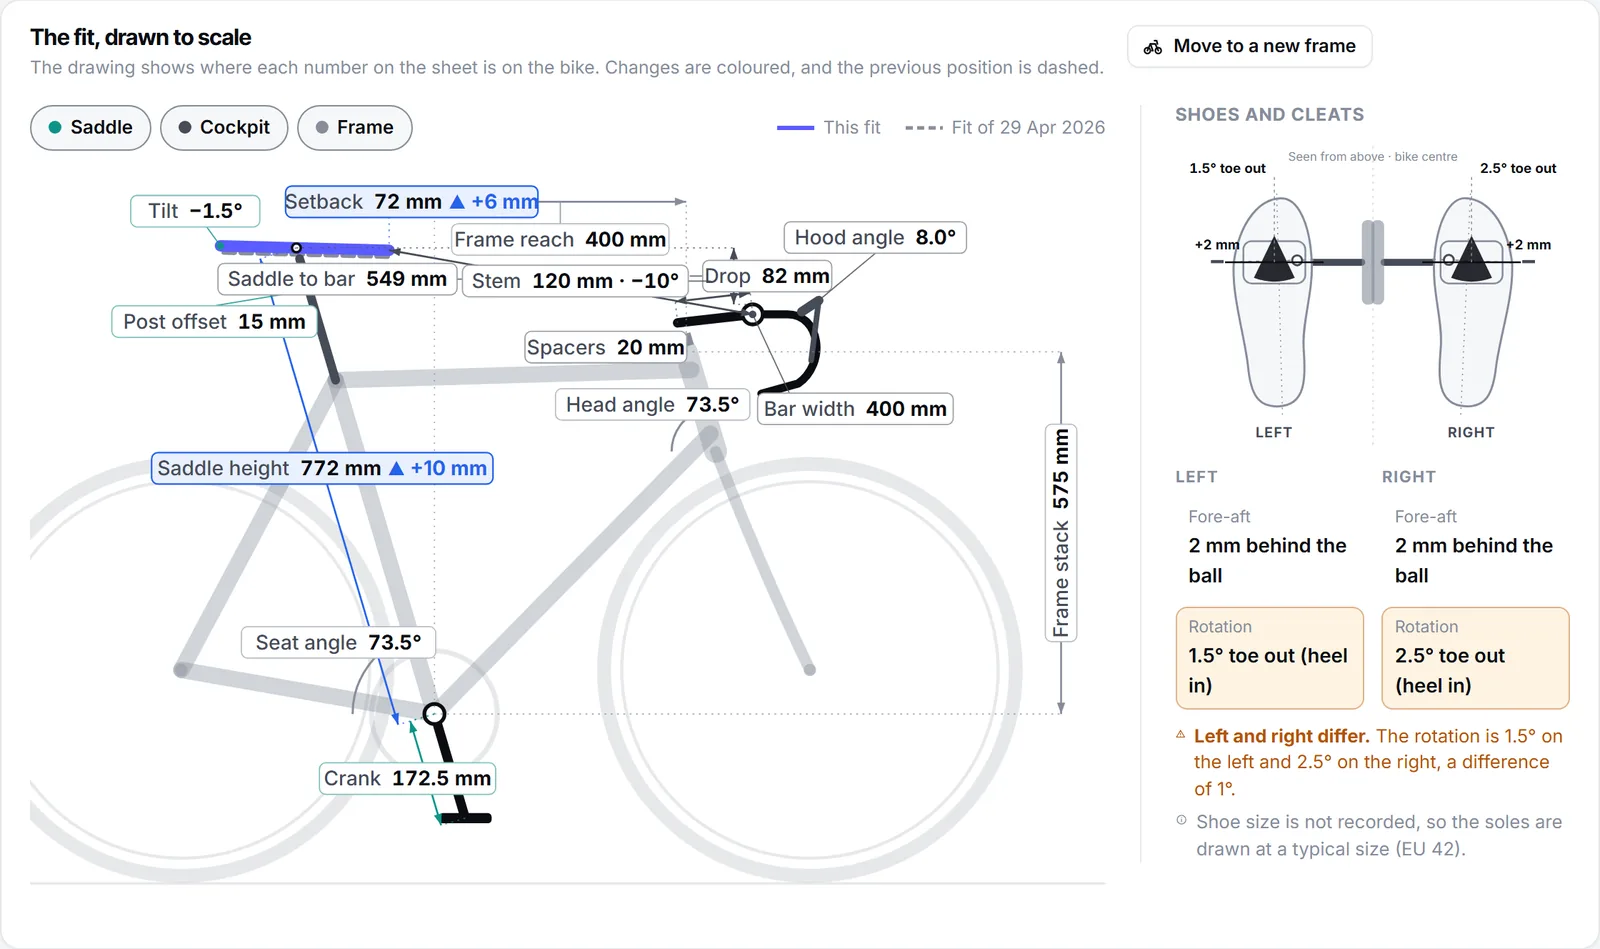
In Velograph, a fit records these measurements on a side-view diagram of the bike. For a new frame, a studio or team can have it list the stem and spacer combinations that put the bar back where it was. Every fit lands in the rider's own free Passport, so the next fitter starts from it.
Further reading
- Bicycle set-up dimensions and cycling kinematics: a consensus statement using Delphi methodology, Sports Medicine, 2024.
- Road bike geometry explained, Canyon, 2026.
Velograph is not affiliated with, sponsored by or endorsed by any team, rider or company named in this article. Names are used only to refer to publicly reported work.